The Snippets feature provides the ability to reuse a predefined set of actions in the same sequence easily. For a set of actions which may be reused frequently, the user can choose to save the set of actions as a snippet. The saved snippet can then be used within the current workflow or in other workflows within the same site collection.
Creating a snippet
There are two ways to create a snippet.
1. To save an entire workflow as a snippet:
- In the Nintex Workflow Designer Ribbon, below the Save, expand the available options by clicking
 .
.
- Click on Save as Snippet.
Note: This will save the entire workflow as a snippet.

2. To save an 'Action Set' action as a snippet:
- In the 'Action Set' action, click on
 the title bar.
- In the menu presented, click on Save as Snippet.
Note: This will save the workflow action including its nested workflow actions as a snippet.

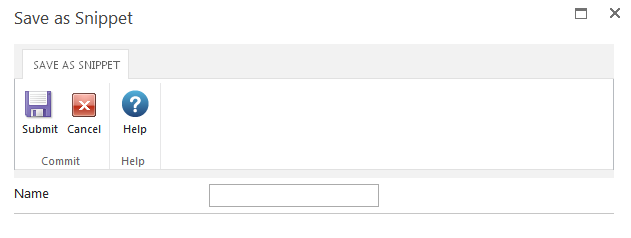
In both ways when a snippet is saved, the Save as Snippet dialog will be displayed.
- In the Name field, provide a unique value to save the snippet.
- When completed, in the Ribbon, click Submit.

Using Snippets
Once a snippet has been saved a new section will appear in the Workflow Actions toolbox called My snippets. It is from here that a snippet with all its preconfigured settings can be used in the workflow.
To add a snippet to the workflow:
- In the Workflow Actions Toolbox, click on My snippets.

- Drag the selected snippet and drop it onto the drop zone on the design canvas.
Note: When the snippet is released onto the drop zone, it will be rendered as a set of workflow actions - the snippet icon will not appear on the workflow canvas.
To delete a snippet:
- Locate the snippet in the Workflow Actions Toolbox and right-click on the snippet itself.
- In the Context menu, select the Delete option.